Emulating your favorite consoles on the iPhone is no longer a matter of developer profiles and weird cables. Today, you can have a retro game library up and running in minutes, as long as you know what formats to use and where the ROMs legally come from. Here is the no-nonsense guide.
What you need before emulating
Three things, not one more: a multi-console emulator installed from the App Store, the ROMs of games you already own in physical format, and, if you want to play with a controller, an iOS-compatible Bluetooth controller (MFi or generic).
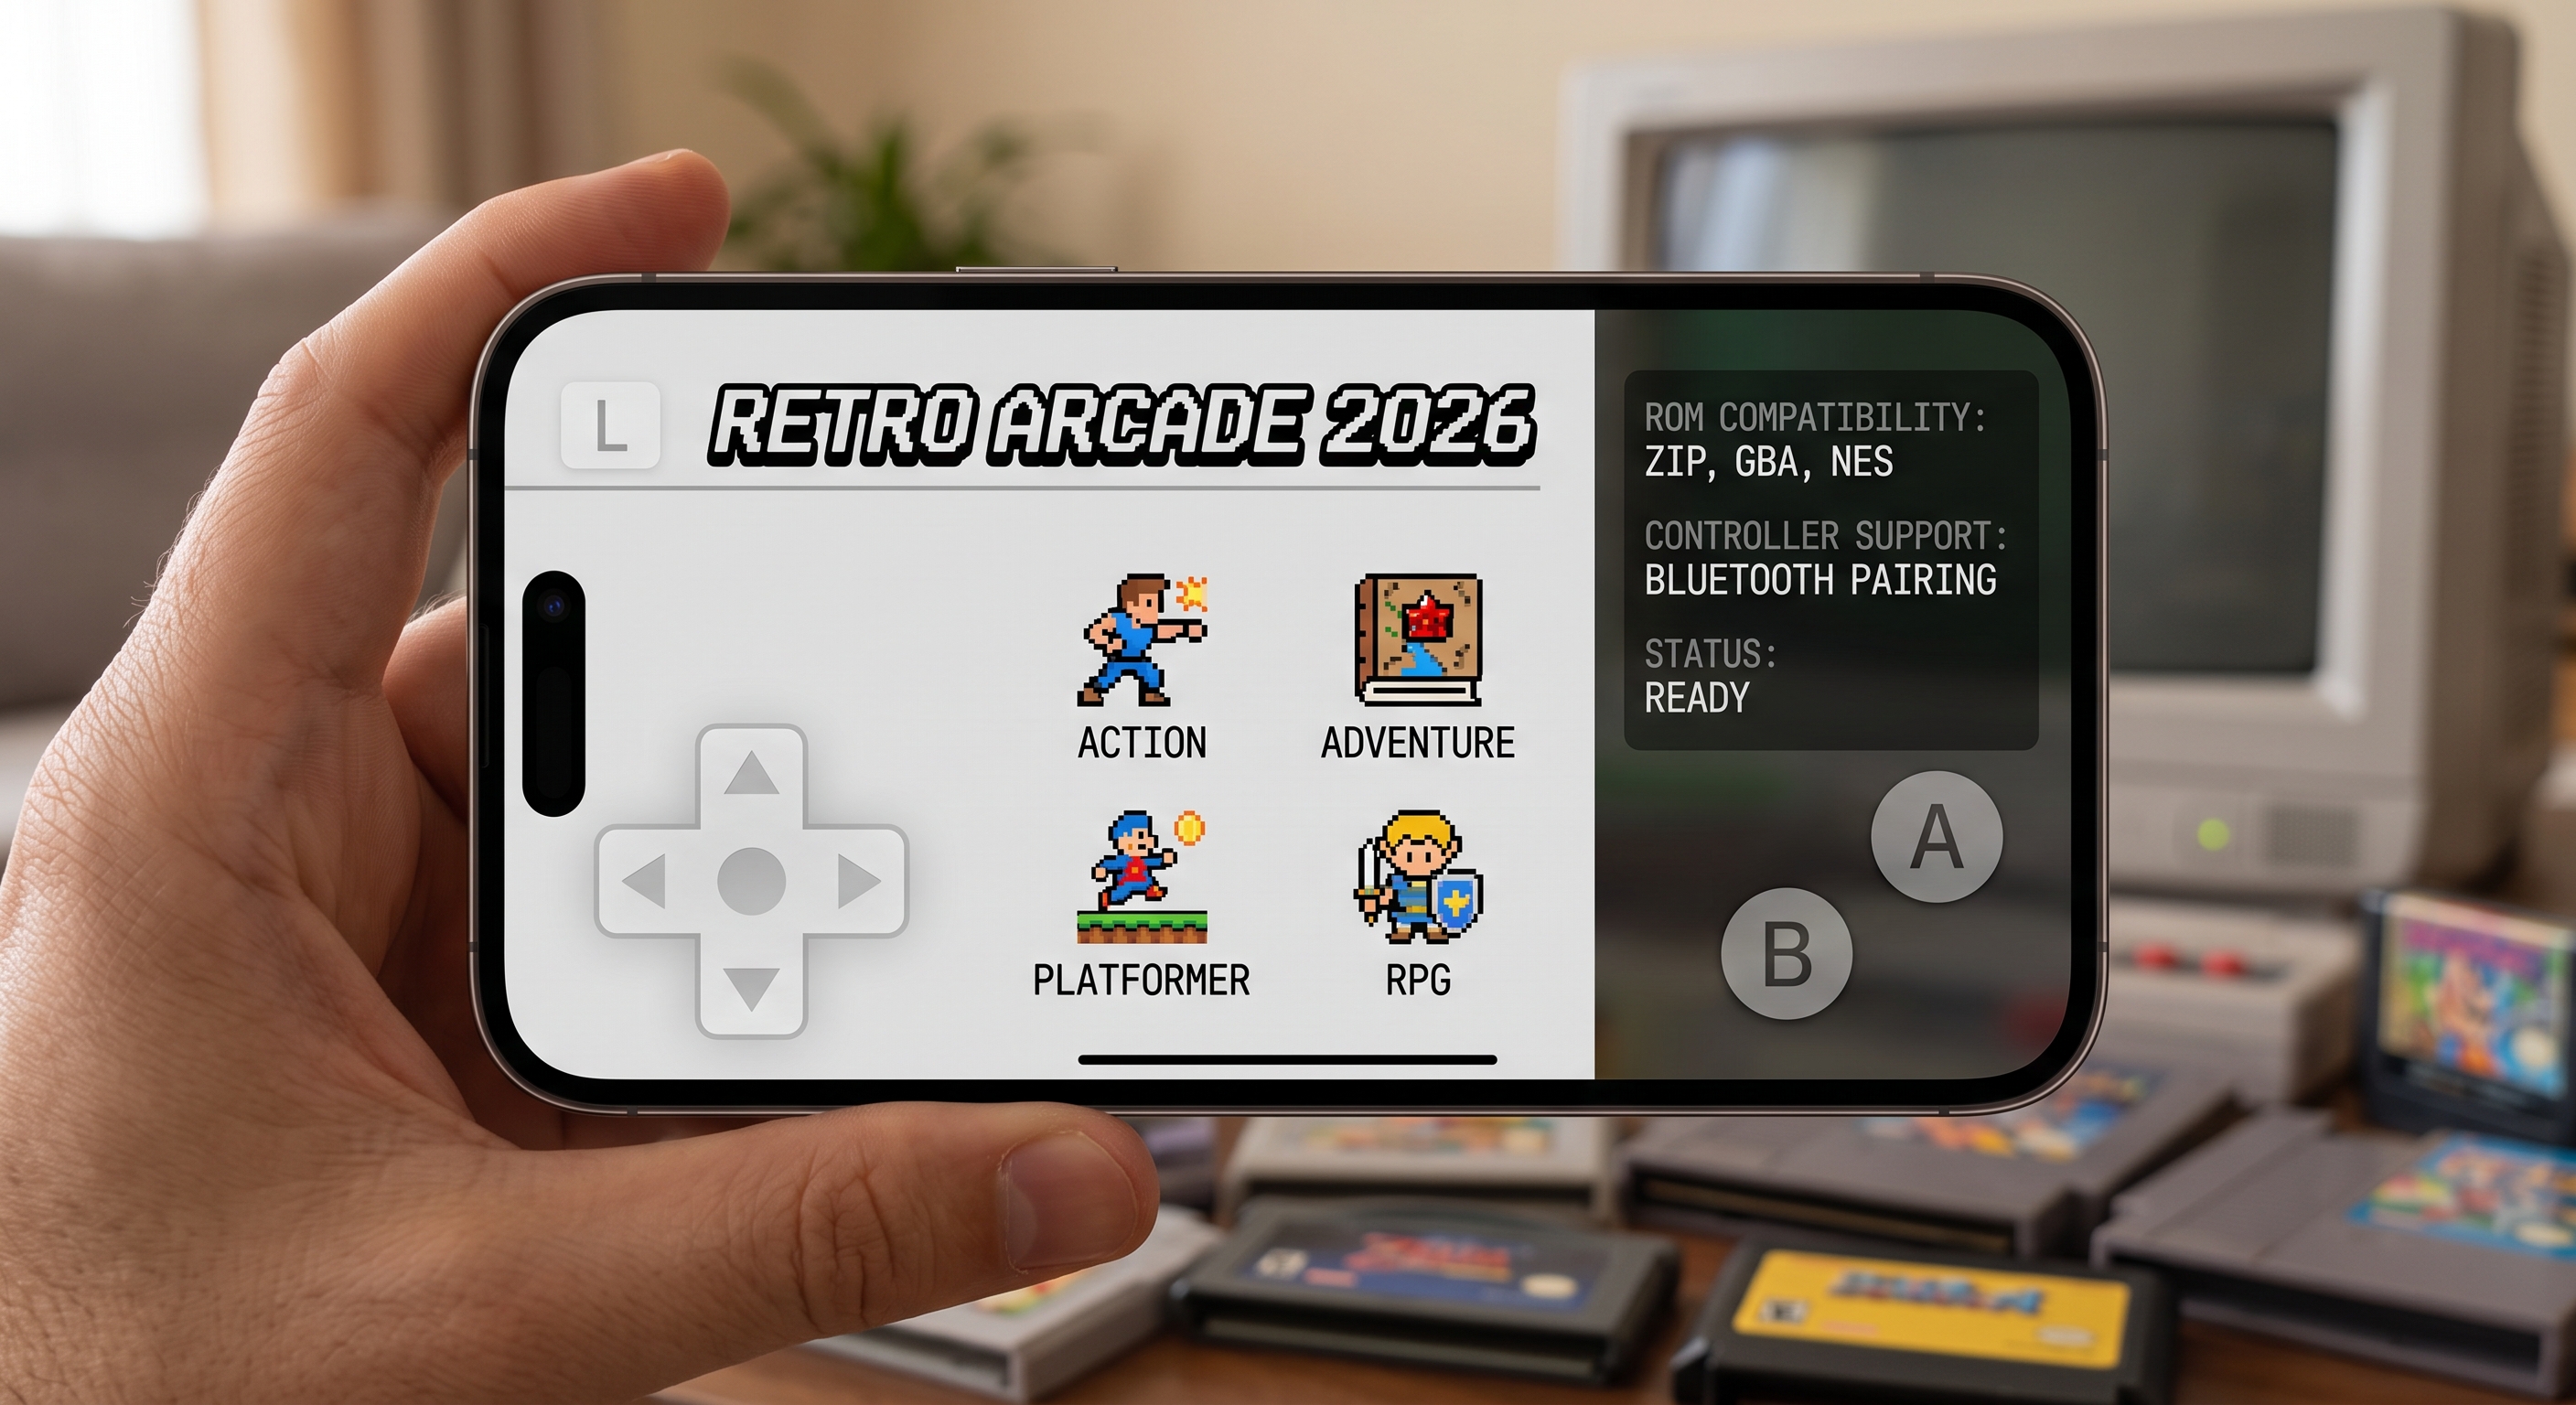
Apps like Retro Emulator cover 8, 16, and 32-bit consoles all at once (NES, SNES, Game Boy, Genesis…) without having to install a different core for each one, and they save game progress to the device's own cloud.
What ROM formats are compatible
- .nes / .sfc / .smc — NES and Super Nintendo.
- .gb / .gbc / .gba — Game Boy, Color, and Advance.
- .md / .gen — Sega Genesis / Mega Drive.
- .zip — most emulators accept the compressed file directly, without manual extraction.
How to import your games to the iPhone
- Connect your iPhone to your computer or use the Files app with iCloud Drive / AirDrop.
- Copy the ROM files to the folder that the emulator creates under "On My iPhone".
- Open the emulator: it will automatically detect the new games and generate cover art thumbnails.
- Pair your Bluetooth controller from Settings → Bluetooth before launching the game so the emulator recognizes it.
Legality: what is and isn't allowed
The emulator itself is perfectly legal: it is just a program that interprets the code of the original console. The issue arises with the ROMs. Intellectual property regulations only protect the backup copy of a game that you already own physically; downloading ROMs of cartridges you have never purchased is not covered by any exception, even if the game is out of print.
In short: if you have the cartridge in a drawer, making a copy of it to play on your phone is defensible. If you don't have it, it isn't.
Tips to make it run smoothly
- Battery saver mode: lower the brightness and disable the motion sensor if the game doesn't use it; emulation cores consume quite a bit of CPU.
- Save states: save at any point in the game, not just where the original game allowed it; useful for difficult games like Contra or Battletoads.
- Video filters: try CRT or scanline filters if you want the look of a cathode-ray tube television; on small screens, it usually looks better without a filter.
- Map the buttons before starting: each core (NES, SNES, Genesis) has a different number of buttons, and it's a good idea to check the controller mapping the first time.
Local multiplayer
Modern emulators allow you to connect two Bluetooth controllers to the same iPhone or iPad for split-screen matches, ideal for classics designed for two players like Contra, Streets of Rage, or SNES Mario Kart.
Conclusion
Retro emulation on iPhone today is as simple as installing an app, copying the ROMs of your own games, and pairing a controller. The key is to respect the legal part—only backups of what you already own—and to choose an emulator that supports multiple consoles at once so you don't end up with half a dozen different apps on your home screen.